
How To
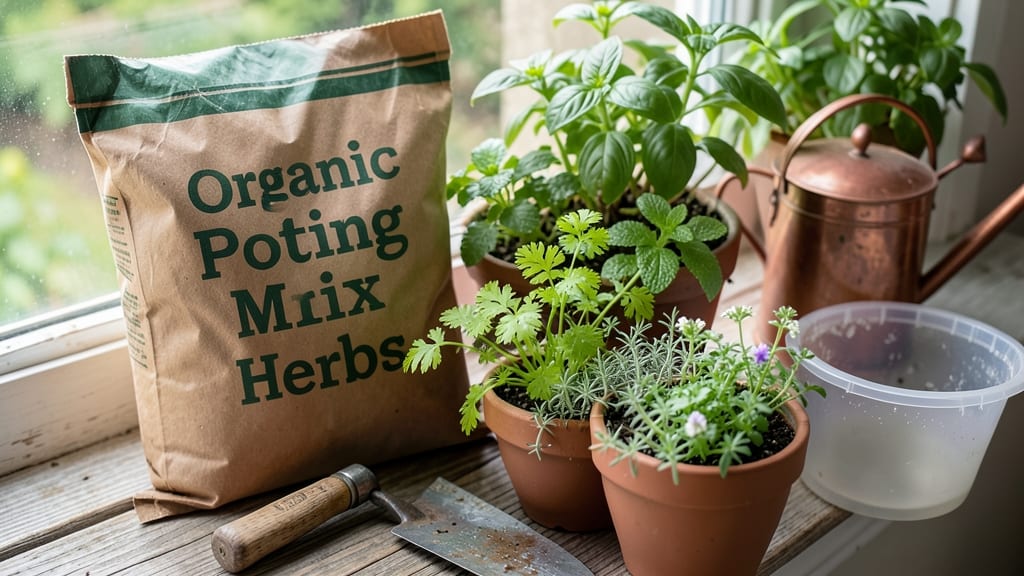
The right potting soil for herbs makes the difference between thriving plants and sad, stunted growth. 🌿 I learned this the hard way when my basil turned yellow and my thyme refused to grow—until I switched to a lightweight mix designed for herbs.
The secret isn't just drainage; it's the perfect balance of air, nutrients, and organic matter that keeps roots happy and leaves lush.
Herbs like basil, parsley, and cilantro need soil that drains fast but holds enough moisture to prevent wilting. Rosemary and oregano, on the other hand, prefer drier conditions to avoid root rot.
A good mix starts with 50% peat moss or coconut coir for moisture control, 30% perlite or pumice for aeration, and 20% compost or worm castings for nutrients. Commercial blends labeled "herb mix" often hit this balance—but always check the ingredients.
You’ll know you’ve got it right when your herbs grow bold and bushy within weeks, not leggy and weak. The soil should crumble easily when squeezed (not stick together) and smell fresh, not sour.
Sterilizing your mix with heat or hydrogen peroxide kills weeds and pathogens, giving your herbs the best possible start. For DIY mixes, adjust the perlite ratio based on your climate—more in humid areas, less in dry ones.
Common mistakes? Overpacking soil (leads to poor drainage) or skipping organic matter (leads to nutrient burnout). Test your mix by watering it—if it pools at the bottom, add more perlite. For container herbs, refresh the top inch of soil every few weeks with compost to keep them productive all season.
Now, let’s get those herbs growing like they’re on a Mediterranean hillside!
📚 In This Guide
- What you need
- Instructions
- Tips and common mistakes
- Wrapping up and next steps
What you need
- ● Potting soil (base): 50% high-quality potting mix (look for peat-free or coconut coir options for sustainability). Avoid garden soil—it’s too dense!
- ● Perlite or pumice: 20% coarse perlite or pumice (for aeration and drainage). Perlite is lightweight; pumice adds extra grit.
- ● Compost or worm castings: 20% organic compost or worm castings (for nutrients). Worm castings are gentler on delicate herbs like basil.
- ○ Sand (optional but helpful): 10% coarse horticultural sand (improves drainage). Skip if your perlite/pumice already provides enough grit.
- ● Mixing container: A large bucket, wheelbarrow, or clean trash bag (for blending). A 5-gallon bucket works for small batches.
- ● Gloves & mask: Nitrile gloves and a dust mask (to protect from perlite/sand dust).
- ● Measuring tools: A kitchen scale or measuring cups (for precise ratios).
- ○ pH testing kit (optional): To check soil acidity (herbs prefer 6.0–7.0 pH).
- ○ Slow-release fertilizer (optional): 1 tsp per gallon of mix (e.g., fish emulsion or kelp meal).
How to create the perfect potting soil mix for herbs
This is the blend I swear by—lightweight, fast-draining, and packed with nutrients to keep your herbs thriving for months.
🌱 Step 1: Start With a High-Quality Base
Begin with 4 parts premium potting mix—this is your foundation, so skip the cheap stuff. I recommend a sterile, peat-based mix because it holds moisture without compacting like garden soil. Add 1 part perlite to create air pockets; this prevents soggy roots that strangle herbs like basil and parsley. The perlite also helps water drain quickly, which herbs absolutely demand.
Mix these two components thoroughly in a large bucket or wheelbarrow. You’ll see the perlite distribute evenly—this is your signal the base is ready. If you’re using a coconut coir mix instead of peat, add ½ part extra perlite because coir compacts more easily.
💧 Step 2: Boost Nutrients and Water Retention
Add 1 part worm castings for a gentle nutrient boost—herbs like rosemary and thyme love the slow-release goodness. If you don’t have castings, 1 part compost works in a pinch, but sift it well to avoid clumps. Next, stir in ½ part coarse sand (not fine playground sand—this is critical). The sand improves drainage and mimics the loose, airy soil herbs grow best in.
Here’s the thing—don’t skip the sand. Without it, your mix will hold too much moisture, and herbs like cilantro will rot before they even bolt. Mix everything until the blend looks uniformly crumbly, like a fresh pile of mulch. If it feels too dense, add a little more perlite.
✂️ Step 3: Customize for Your Herb Types
For sun-loving herbs like basil and oregano, add ¼ part horticultural charcoal to prevent bacterial buildup. Charcoal also keeps the mix fresh longer—trust me, your pots will smell like a garden, not a swamp. If you’re growing shade-tolerant herbs like mint or parsley, reduce the perlite to ½ part and add ¼ part peat moss instead to retain a little more moisture.
Give the mix one final stir. It should feel light but not powdery, like a soft sponge. If you squeeze a handful, it should hold its shape but crumble easily. This texture is your guarantee the roots will breathe while still accessing water.
☀️ Step 4: Test and Adjust for Drainage
Fill a small container with your mix and water it thoroughly. After 10 minutes, check the bottom—water should drain freely, but not so fast that it runs straight through like sand. If it drains too quickly, add 1 part extra compost to help retain moisture. If it stays soggy, mix in ½ part more perlite and test again.
This is the moment that matters: your herbs’ roots will thank you. A well-draining mix prevents the two biggest herb-killers—root rot and fungal diseases. Once you’ve perfected the blend, store it in a sealed bin for up to 3 months (or freeze it to extend shelf life).
Tips & tricks for perfect herb potting soil
Here's what nobody tells you about crafting the ideal foundation for your herb garden—these are the little details that make all the difference.
Texture is Everything: When you're mixing the 4 parts premium potting mix with 1 part perlite in Step 1, aim for a blend that feels like "sifted flour" rather than sand. The perlite should distribute evenly without clumping—this is your guarantee of proper aeration. I learned this the hard way after ruining three batches of basil by using too little perlite. For coconut coir mixes, that extra ½ part perlite is non-negotiable—it prevents compaction that would suffocate your herbs' roots.
Sand Selection Matters: In Step 2, that ½ part coarse sand isn't just any sand—it needs to be horticultural-grade with particles about the size of coarse sugar. Fine sand or playground sand will clog the mix and create water pockets that lead to root rot. I keep a small bag of this specific sand on hand because it's worth every penny for herbs like cilantro that hate soggy conditions. Pro tip: If you can't find coarse sand, crushed granite works beautifully as a substitute.
Drainage Test Precision: The 10-minute drainage test in Step 4 is your quality control moment. Water should flow freely but not like a sieve—think of it as "a steady stream, not a river." If your mix drains too fast, that extra 1 part compost adds moisture retention without sacrificing aeration. For shade herbs like parsley, I often add an extra ¼ part perlite to ensure they don't get waterlogged, even though the instructions suggest reducing it for shade plants.
Storage Secrets: After perfecting your blend, store it in a sealed bin with a silica gel packet to absorb excess moisture. I've found that freezing the mix for up to 3 months actually preserves its structure better than room temperature storage. When you're ready to use it, let it thaw completely before mixing—cold soil can shock herb roots and stunt growth. The key is maintaining that perfect crumbly texture right up until planting day.
Pro Tips for Potting Soil For Herbs
- Here's what nobody tells you about crafting the ideal foundation for your herb garden—these are the little details th...
- Texture is Everything: When you're mixing the 4 parts premium potting mix with 1 part perlite in Step 1, aim for a bl...
- Sand Selection Matters: In Step 2, that ½ part coarse sand isn't just any sand—it needs to be horticultural-grade wit...
Frequently asked questions
Got questions about the best potting soil for herbs? You’re not alone! Here are some of the most common concerns—plus quick, actionable answers to keep your herbs thriving.
What’s the best ratio of potting soil to perlite or sand for herbs?
A 60:40 mix of high-quality potting soil and perlite/sand is ideal for most herbs. This balance ensures great drainage (herbs hate soggy roots!) while retaining enough moisture. For sandy soils, boost perlite to 50% if your herbs (like rosemary or thyme) prefer drier conditions.
How often should I repot herbs into fresh potting soil?
Repot herbs every 1–2 years or when you notice roots circling the pot. Herbs are light feeders, so soil nutrients deplete faster than you’d think. Spring is the best time to refresh their home—just use a pot 1–2 inches larger than their current one to avoid over-potting.
Can I use regular garden soil or compost for herbs?
Nope! Garden soil is too dense and can compact, while compost alone lacks the airy structure herbs need. Stick to a sterile potting mix (or DIY with coconut coir + perlite) to prevent disease and root rot. Pro tip: Add a 10% worm castings boost for extra nutrients!
Why are my herbs turning yellow or wilting after repotting?
Yellowing or wilting often signals overwatering or root shock. Let the soil dry slightly between waterings (stick your finger in—if the top inch is damp, wait!). If roots look mushy, trim the damaged ones and repot in fresh, well-draining soil. Herbs like basil and cilantro are especially sensitive—give them extra TLC!
Do I need to sterilize potting soil for herbs?
Yes! Sterilizing kills weeds, fungi, and pests. Bake store-bought soil at 200°F for 30 minutes or use hydrogen peroxide (3%) (1 part peroxide to 10 parts water). For outdoor soil, solarize it by covering with clear plastic for 4–6 weeks. Herbs like oregano and sage are prone to fungal issues, so sterilization is a must!
Wrapping up and next steps
Choosing the right potting soil for herbs is the secret to thriving plants that burst with flavor and aroma. Whether you opt for a pre-mixed lightweight loam or craft your own blend, prioritizing drainage, aeration, and nutrient balance will set your herb garden up for success.
With the perfect mix, you’re not just growing herbs—you’re cultivating a flavorful, low-maintenance oasis right on your windowsill or balcony! 🌱
Now that you’re armed with the knowledge, it’s time to roll up your sleeves and get planting! Start small—try a few of your favorite herbs like basil, parsley, or mint—and watch your green thumb grow. Happy gardening! 🌿