
How To
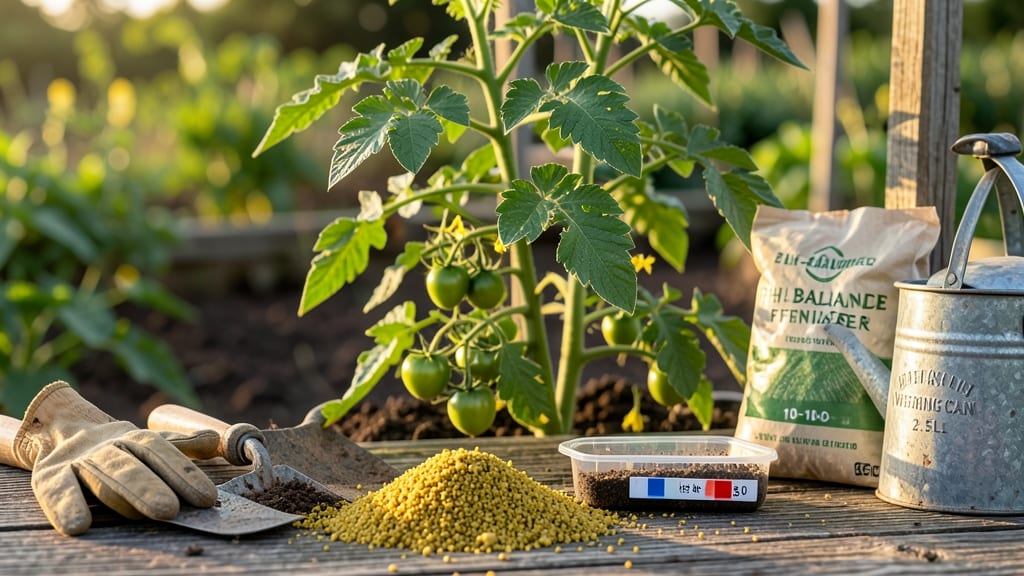
Lowering soil pH for tomatoes is all about creating the right balance—your 🍅 plants crave a slightly acidic environment (pH 6.0–6.8) to soak up nutrients like iron and manganese.
Picture this: you’ve planted your seedlings, watered them, and even fertilized—but the leaves stay yellow, the vines grow weak, and the fruit never ripens. That’s your soil screaming for help, and the culprit?
A pH too high. The good news? You don’t need harsh chemicals to fix it. With the right natural amendments, you can adjust the pH safely, quickly, and without overcomplicating things.
Most gardeners reach for lime first, but that’s the wrong move for tomatoes. Instead, we’ll focus on organic fixes like sulfur, pine needles, and even coffee grounds—methods that work in weeks, not months, and keep your soil healthy long-term.
In this guide, I’ll walk you through exact steps to test your soil, pick the right amendments, and monitor progress so you’re harvesting juicy, vine-ripened tomatoes by summer. No guesswork, just results.
Signs your tomato soil has too high pH and natural fixes without lime
If your tomato plants show yellowing leaves between veins or stunted growth, your soil may be too alkaline. Tomatoes thrive in slightly acidic soil with a pH of 5.5–6.8.
When pH rises above 7.0, essential nutrients like iron and manganese become locked away, causing nutrient deficiencies that mimic disease. The good news? You can fix this naturally without adding lime.
High soil pH often appears as pale green or yellow leaves (chlorosis), weak stems, or poor fruiting. These symptoms aren’t always due to overwatering or pests—they’re classic signs of alkaline soil stress.
Before reaching for chemical amendments, test your soil’s pH using a DIY kit or send a sample to a lab for precise results. Once you confirm the issue, organic fixes like elemental sulfur or pine needles can safely lower pH over time.
Tomatoes need acidic soil to absorb nutrients efficiently. When pH climbs too high, the plant’s roots struggle to uptake micronutrients like zinc and copper, leading to leaf curling or blossom end rot.
Unlike lime, which raises pH, organic amendments like composted pine bark or coffee grounds gradually acidify the soil while improving texture and microbial activity. These methods work best when applied 6–8 weeks before planting or mixed into the soil at transplant time.
Here’s how to identify alkaline soil and fix it naturally without lime:
| Symptom | Cause | Natural Fix | Dosage |
|---|---|---|---|
| Yellow leaves (chlorosis) | High pH blocks iron uptake | Elemental sulfur | 1–2 lbs per 100 sq ft |
| Stunted growth | Nutrient deficiency from alkaline soil | Pine needles | 2–3 inches mulched annually |
| Poor fruiting | Calcium/magnesium imbalance | Coffee grounds | ½ cup per plant, mixed into soil |
| Leaf curling | Zinc or copper deficiency | Peat moss | 1 part peat to 3 parts soil |
| Blossom end rot | Calcium absorption issues | Composted pine bark | 1–2 inches as mulch |
Elemental sulfur is one of the fastest ways to lower pH naturally. It reacts with soil moisture to form sulfuric acid, gradually reducing pH over 2–4 weeks. For best results, apply sulfur in early spring or fall, then water thoroughly.
If your soil is extremely alkaline (pH > 8.0), combine sulfur with peat moss for a stronger effect. Always test pH again after 4–6 weeks to avoid over-acidification.
Pine needles are another excellent organic amendment. They release organic acids as they decompose, slowly lowering pH while adding nutrients. Spread 2–3 inches of needles around tomato plants in early spring or late summer.
Over time, they’ll break down and improve soil structure. Coffee grounds work similarly—they’re slightly acidic and rich in nitrogen, but use them sparingly (½ cup per plant) to avoid over-fertilizing.
Peat moss is ideal for container-grown tomatoes or raised beds. Mix 1 part peat moss with 3 parts soil to create a slightly acidic growing medium. Peat moss holds moisture well and provides a slow-release acidity that benefits roots.
For existing garden beds, till peat moss into the top 6 inches of soil before planting. Avoid using sphagnum peat moss in large quantities, as it can dry out quickly and may require frequent watering.
Composted pine bark is a long-term solution for maintaining acidic soil. It breaks down slowly, releasing organic acids over several months. Apply 1–2 inches as a mulch around tomato plants in early spring.
This method is gentle and won’t shock your plants like sudden pH changes. For best results, reapply mulch annually to keep the soil’s acidity stable throughout the growing season.
Monitor your soil’s pH every 4–6 weeks to ensure it stays within the ideal range of 5.5–6.8. Use a digital pH meter or DIY test kit for accurate readings.
If pH drops too low (below 5.5), add a small amount of wood ash (sparingly) or crushed eggshells to raise it slightly. Balance is key—tomatoes need acidic soil, but not excessively so.
Natural amendments like sulfur, pine needles, and coffee grounds are safer and more sustainable than chemical fixes. They improve soil health while lowering pH, ensuring your tomatoes get the nutrients they need to thrive.
Start with one method, test your soil regularly, and adjust as needed for healthy, productive plants all season long. 🌱
Step-by-step guide: how to lower soil pH for tomatoes in 4 weeks or less
Tomatoes thrive in slightly acidic soil with a pH range of 5.5–6.8. If your soil tests higher, nutrients like iron and manganese become locked away, causing yellow leaves and poor fruit production.
The key is lowering pH gradually using natural amendments. I’ll walk you through a 4-week plan that avoids harsh chemicals and keeps your tomatoes happy.
First, you’ll need to test your soil’s current pH. You can use a DIY kit (like vinegar and baking soda) for a rough estimate or send a sample to a lab for precise results. Once you know your starting pH, you can calculate how much amendment to add.
For example, if your soil is at 7.5 pH, you’ll need more aggressive treatment than if it’s at 7.0 pH.
Your 4-Week pH Adjustment Plan
- Week 1: Test soil pH and choose amendments (elemental sulfur, pine bark, or coffee grounds). Mix 1–2 lbs of elemental sulfur per 100 sq ft into the top 6 inches of soil. Water thoroughly to activate the amendment.
- Week 2: Add organic matter like composted pine bark or peat moss (1–2 inches). This buffers pH changes and improves soil structure. Re-test pH after rain or watering.
- Week 3: Apply acidifying mulch, such as pine needles or oak leaves, around tomato plants. This slow-release method keeps pH stable. Monitor for leaf discoloration or wilting.
- Week 4: Re-test soil pH. If it’s still too high, repeat sulfur application at half the dose. If it’s now 6.0–6.8, your tomatoes are ready for planting!
Elemental sulfur is the fastest-acting amendment, but it can burn roots if overapplied. For a gentler approach, use composted pine bark or coffee grounds (mix 1 part grounds to 20 parts soil). These organic options also improve soil fertility. Always water after applying amendments to help them integrate.
Monitor your progress by testing pH every 7–10 days. Use a digital pH meter for accuracy, or stick with a reliable test kit. If your soil pH drops too quickly (below 5.5), mix in wood ash or crushed eggshells to balance it back up.
Tomatoes are resilient, but extreme pH swings stress them.
Once your soil reaches the ideal range, maintain it with regular mulching and rainwater irrigation (hard water raises pH over time). Avoid synthetic fertilizers high in calcium or magnesium, as these can push pH up again.
With this method, your tomatoes will absorb nutrients efficiently and produce vibrant, flavorful fruit all season.
🌱