
Light Requirements
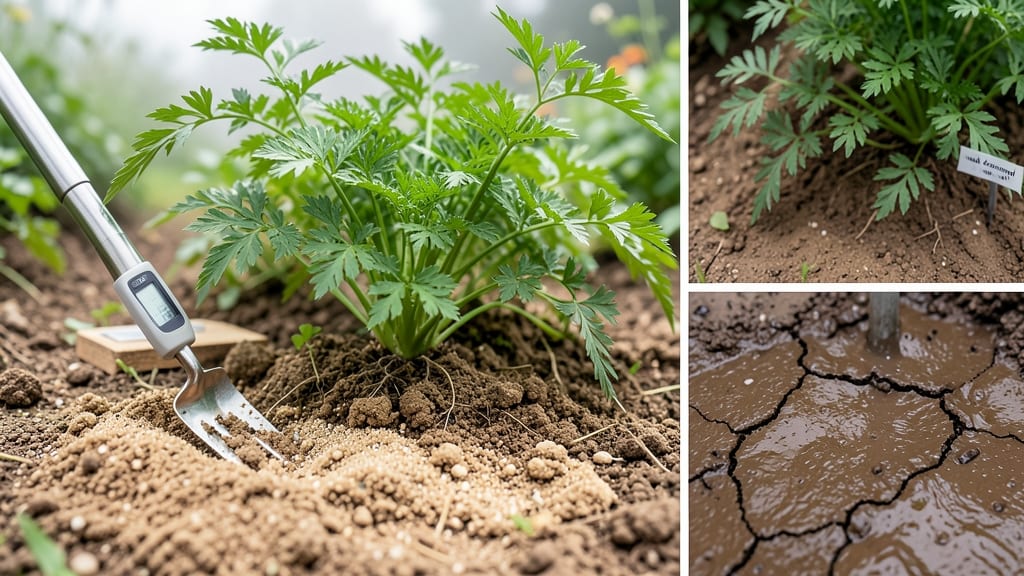
Growing carrots with the right soil requirements means the difference between straight, crisp roots and forked disappointments.
You’ve probably planted carrots before, only to pull up a harvest of lopsided, knobby messes instead of the perfect 🥕 you imagined. The culprit? Soil that’s too dense, rocky, or compacted.
Carrots need space to grow downward, and without it, they’ll twist and split—no matter how much you water or fertilize.
Ideal carrot soil is loose, well-draining, and free of stones, with a slightly acidic to neutral pH (around 6.0 to 7.0). Sandy loam or amended clay works best, but the key is preparing the bed properly—removing debris, adding compost, and tilling deeply.
Skip this step, and you’ll end up with roots that look more like question marks than the sweet, straight harvest you’re after.
In this guide, I’ll walk you through the exact soil conditions carrots crave, how to fix common problems (like heavy clay or rocky patches), and the simple amendments that turn mediocre soil into carrot-growing gold. No guesswork—just straight answers for a perfect harvest.
Ideal soil composition for growing perfect carrots
Carrots are finicky about their growing environment, and soil composition is the #1 factor determining whether you’ll harvest crisp, straight roots or misshapen, forked disappointments. The key lies in creating a loose, stone-free bed with the right balance of organic matter and proper drainage.
Without these conditions, carrots struggle to develop their signature tapered shape, often splitting or growing in odd directions.
Think of carrot roots like a pencil—if you try to force it into a tight, rocky space, it’ll bend and break. The same principle applies to your garden bed. Perfect carrot soil mimics the texture of sandy loam, allowing roots to grow freely without resistance.
This means avoiding heavy clay soils that compact easily and impede root expansion, while also steering clear of overly sandy soils that drain too quickly and fail to retain moisture.
Here’s the golden rule for carrot soil: it should feel like a well-aerated sponge—light enough to crumble between your fingers when slightly moist, yet moisture-retentive enough to keep roots hydrated during dry spells.
Achieving this balance requires a mix of organic matter (like compost or aged manure) and mineral components (such as sand or perlite) to improve structure.
Don’t overlook pH balance, either. Carrots thrive in slightly acidic to neutral soil, with an ideal pH range of 6.0 to 7.0.
Testing your soil’s pH before planting can save you from wasted effort—if your soil is too alkaline (above 7.5), carrots may develop bitter flavors or stunted growth.
Adjusting pH with sulfur (to lower) or lime (to raise) is a simple fix, but timing matters: amend your soil 2-3 months before planting to allow adjustments to take full effect.
Now, let’s break down the exact soil requirements for carrots in a clear, actionable format. The table below outlines the critical components you need to prioritize for a successful harvest.
| Soil Component | Ideal Specification | Why It Matters |
|---|---|---|
| Texture | Loose, sandy loam | Prevents forking; allows roots to grow straight |
| Organic Matter | 30-40% compost or aged manure | Improves moisture retention and nutrient availability |
| pH Level | 6.0 - 7.0 (slightly acidic to neutral) | Optimal for nutrient uptake and sweet flavor |
| Drainage | Well-draining (no standing water) | Prevents root rot and ensures crisp texture |
| Stone Content | Stone-free (or <1 inch diameter) | Stones cause forking and deformities |
| Depth | 12+ inches deep | Allows long varieties to develop fully |
The texture of your soil is non-negotiable for carrots. If your garden bed feels dense or compacted, carrots will fork—meaning their roots split into multiple directions like a lightning bolt. To test your soil’s texture, grab a handful and squeeze it gently.
If it holds its shape like a brick, it’s too compact. If it crumbles instantly, it’s too sandy. Aim for a loose, crumbly consistency that resembles cake batter—just firm enough to hold its shape but easy to break apart.
For gardeners with clay-heavy soil, the solution is simple: amend with organic matter like compost, leaf mold, or well-rotted manure. These materials improve soil structure by creating air pockets, which reduce compaction.
If your soil is sandy, mix in 2-3 inches of compost and a thin layer of peat moss or coconut coir to boost moisture retention. Think of these amendments as the "glue" that binds soil particles together just enough to hold moisture without suffocating roots.
One of the most common mistakes I see in home gardens is ignoring stone content. Even small pebbles or rocks can derail a carrot’s growth, causing it to fork or grow in a crooked shape.
Before planting, remove all stones larger than 1 inch from the top 12 inches of soil. If your garden bed is particularly rocky, consider growing short varieties like Paris Market or Little Finger, which tolerate minor obstructions better than long varieties like Danvers or Chantenay.
Finally, let’s talk about drainage. Carrots hate soggy soil—it leads to root rot and mushy texture. If your garden has poor drainage, create raised beds or mounds to elevate the planting area.
You can also improve drainage by mixing in coarse sand or perlite (up to 20% of the soil volume). The goal is to mimic the conditions of a forest floor: slightly moist but never waterlogged.
A quick drainage test is to dig a hole, fill it with water, and time how long it takes to drain. If it takes longer than 2 hours, your soil needs amending.
How to prepare and amend soil for carrot cultivation
Preparing your soil for carrots isn't just about digging a hole—it's about creating a loose, stone-free environment that lets those roots grow straight and long. Carrots are picky about texture; they need soil that feels like a soft blanket, not a brick wall.
If your garden bed is compacted or full of rocks, you'll end up with forked or stunted carrots, no matter how well you plant them.
Start by testing your soil's current condition. Stick your finger in—if it feels hard or clumpy, it's time to break it up and amend. The goal is a fine, sandy-loam texture that drains well but holds enough moisture to keep roots happy.
Don't skip this step; amending soil takes patience, but it's worth it for that perfect harvest of crisp, straight carrots.
- Step 1: Clear the area of weeds, debris, and large rocks. Use a garden fork to loosen soil to a 12-inch depth.
- Step 2: Sift through soil to remove small stones and clumps. Carrots need unobstructed growth—no surprises underground!
- Step 3: Mix in 2-3 inches of compost or well-rotted manure. This adds organic matter for nutrients and improves texture.
- Step 4: For heavy clay soil, blend in coarse sand (like builder's sand) to lighten it. Aim for a 30% sand mix if needed.
- Step 5: Test soil pH (aim for 6.0-7.0). If too acidic, add lime; if too alkaline, mix in sulfur. Use a soil test kit for accuracy.
- Step 6: Rake the bed smooth and press lightly to create a firm seedbed. This helps seeds make good contact with soil for faster germination.
Once your soil is prepped, consider double-digging for even better results. This method involves digging a trench, loosening the subsoil, and mixing it with the top layer. It’s extra work, but it pays off with deeper, straighter carrots.
If you're planting in raised beds, fill them with a mix of topsoil, compost, and sand for ideal conditions.
After amending, water the bed thoroughly before planting. This helps settle the soil and removes air pockets that could hinder root growth. Keep the area moist but not soggy—carrots hate waterlogged soil, which can cause rot.
A light mulch of straw after planting helps retain moisture and keeps weeds at bay.
Remember, carrots grow best in consistently loose soil. If you notice the bed compacting over time, fluff it up again with a fork before the next planting. With the right soil prep, you’ll be pulling out perfect, restaurant-quality carrots in no time!