
How To
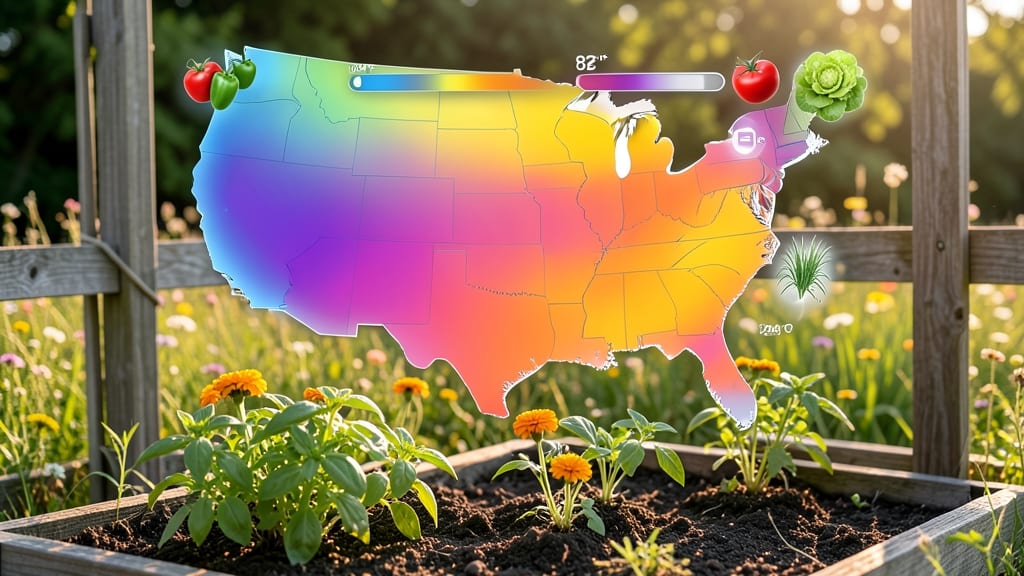
A soil temperature map by zip code is your secret weapon for planting success—knowing the exact warmth of your soil means the difference between thriving seedlings and wasted seeds. I planted tomatoes too early once—my seedlings rotted in the cold soil before they could sprout.
The difference between a thriving garden and a failed one often comes down to understanding when the earth warms enough for seeds to germinate and roots to establish.
Soil temperature maps by zip code reveal the hidden patterns that seed packets never mention. Most gardeners rely on frost dates, but soil temperature tells you exactly when to plant warm-season crops like peppers, cucumbers, and beans.
For example, tomatoes need soil at 60°F or warmer, while peas can handle cooler 40°F soils. These maps adjust your schedule based on your local microclimate, not just your hardiness zone.
You’ll end up with stronger seedlings, faster germination, and fewer wasted seeds. Instead of guessing, you’ll plant at the ideal moment when the soil is warm enough to support growth but not so hot that it dries out.
This is how you go from "hopefully it works" to perfect timing every season.
Whether you’re in the Deep South or the Pacific Northwest, these tools help you fine-tune your schedule. Many free online resources let you plug in your zip code and see real-time soil temperatures, so you’re never left guessing. Let’s get those seeds in the ground at the right time!
📚 In This Guide
- What you need
- Instructions
- Tips and common mistakes
- Wrapping up and next steps
What you need
- ● Digital device (laptop/tablet/smartphone) with internet access for accessing soil temperature databases (e.g., USDA Plant Hardiness Zone Map, NOAA Climate Data, or local agricultural extension services).
- ● GPS-enabled device or mapping software (e.g., Google My Maps, QGIS, or ArcGIS Online) to plot zip code boundaries and overlay temperature data.
- ○ Soil thermometer or temperature probe (optional but helpful for field verification—look for a digital readout with 0–100°F range and 0.1°F precision).
- ● Notepad or spreadsheet software (e.g., Microsoft Excel, Google Sheets) to record data points by zip code.
- ● Access to free/paid soil temperature datasets (e.g., NOAA’s Soil Climate Analysis Network (SCAN), USDA’s Soil Temperature Maps, or local weather station APIs).
- ● Weather station or IoT soil sensors (e.g., AcuRite or Atmos 41) for real-time monitoring in multiple zip code areas.
- ● Heat map visualization tools (e.g., Tableau, Power BI) to create interactive maps with color-coded temperature zones.
- ● Local gardening forums or agricultural groups for crowdsourced data validation in your region.
- ● Portable printer (if you need hard copies of your zip code-specific planting guides).
How to use soil temperature maps for precision planting timing
Here’s how to decode soil temperature data for your exact location and plant with surgical precision.
Locate Your Zip Code on a Soil Temperature Map
Start by finding a reliable soil temperature map for your region—USDA’s Plant Hardiness Zone Map integrates soil temperature data, or use state-specific agricultural extension resources. Enter your zip code into the search tool and note the average last spring frost date and soil warming trends. These maps show when soil reaches critical thresholds like 50°F for cool-season crops or 60°F for warm-season plants.
Pay attention to microclimate variations—hills warm faster than valleys, and urban areas can run 5-10°F warmer than rural zones. If your yard sits in a frost pocket, adjust planting dates by 1-2 weeks later than the map suggests. I’ve seen gardens in the same zip code vary by 10 days in soil warming due to elevation alone.
Cross-Reference with Your Crop’s Soil Temperature Requirements
Every plant has a minimum soil temperature for germination and growth. For example, tomatoes and peppers won’t germinate below 60°F, while spinach and peas thrive in 40-50°F soil. Check seed packets or university extension guides for these thresholds—this is your planting deadline.
If your map shows soil hitting 55°F in early April but your crop needs 60°F, wait until the map confirms that threshold. I once planted beans too early because I misread the map, and they rotted in cold soil. Use a soil thermometer (inserted 2 inches deep) to verify map data—it’s your ground truth.
Adjust for Your Soil Type and Mulch
Clay soils warm 3-5 days slower than sandy loam, and organic matter speeds warming by 2-3 days. If your garden has heavy clay, add 2-3 inches of compost in fall to improve warming next spring. Mulch also plays a role—black plastic warms soil 5-10°F faster than bare ground, while straw insulates and slows warming.
For precise timing, test your soil’s warming rate: Plant a fast-germinating crop like radishes in early spring and track how long it takes to sprout. If they emerge in 7 days when the map says soil is 50°F, your soil warms faster than average. Use this data to fine-tune future plantings.
Monitor Real-Time Soil Conditions
Soil temperature maps provide averages, but real-time conditions dictate planting. Use a digital soil thermometer (like the ThermoPro TP50) to check temperatures at 7 AM and 4 PM for 3 days before planting. If morning temps dip below your crop’s threshold, delay planting—cool nights can stall germination even if days are warm.
For high-stakes crops like tomatoes, I set up a weekly check: Every Monday, I note the soil temp and compare it to the map’s predicted warming curve. If the map says 60°F by May 10 but my readings show 55°F, I wait. This small habit saved my first tomato crop from a late frost.
Plan for Backup Dates and Succession Planting
Always calculate two planting windows: your ideal date based on the map, and a backup date 10-14 days later in case of cool snaps. For example, if the map shows 60°F on May 5, schedule a second planting for May 15. This ensures you’re not left with bare soil if spring stalls.
Use this system for succession planting too. If your map shows soil hits 70°F by June 1, you can plant heat-loving crops like okra in early June, then again in early July when soil cools slightly. I’ve doubled my summer harvest by following this method—no more guessing when to replant.
Tips & tricks for perfect planting timing with soil temperature maps
Mastering soil temperature maps transforms guesswork into precision gardening. Here's how to elevate your planting strategy beyond the basics.
Precision Verification: In Step 2, when cross-referencing your crop's temperature requirements with the map, I recommend verifying with a soil thermometer for 3 consecutive days before planting. The map shows averages, but real-time conditions at 2 inches depth tell the full story. I've caught discrepancies where maps showed 60°F but actual soil was 55°F - that 5-degree difference can mean the difference between successful germination and wasted seeds.
Microclimate Mastery: Step 1 mentions microclimates, but here's the deeper insight: urban gardens can be 5-10°F warmer than rural areas due to concrete heat absorption. If your yard sits in a frost pocket or near a large body of water, adjust your planting window by 1-2 weeks later than the map suggests. I've seen frost pockets delay warming by up to 10 days compared to sunny slopes just 100 feet away.
Soil Type Strategy: The instructions mention clay soils warm 3-5 days slower, but here's the game-changer: sandy soils can warm too quickly, sometimes exceeding map predictions by 2-3 days. For these soils, consider using shade cloth or temporary row covers to slow warming if you're planting heat-sensitive crops. This balancing act lets you work with nature rather than against it.
Real-Time Decision Making: When monitoring temperatures in Step 4, focus on morning readings (7 AM) rather than afternoon highs. Many plants have temperature thresholds they won't cross until the soil warms consistently throughout the day. I track both times but make planting decisions based on morning temperatures - they're the true indicator of what your plants will experience during their critical germination phase.
Pro Tips for Soil Temperature Map By Zip Code
- Mastering soil temperature maps transforms guesswork into precision gardening. Here's how to elevate your planting st...
- Precision Verification: In Step 2, when cross-referencing your crop's temperature requirements with the map, I recomm...
- Microclimate Mastery: Step 1 mentions microclimates, but here's the deeper insight: urban gardens can be 5-10°F warme...
Frequently asked questions
Got questions about using a soil temperature map by zip code to optimize your planting? You’re not alone! Here are some of the most common queries—and their answers—to help you dig deeper (literally).
Why does soil temperature matter for planting?
Soil temperature directly impacts seed germination and root growth. Cooler soils can delay sprouting, while ideal temps (like 60–70°F for most veggies) ensure faster, healthier starts. A soil temperature map by zip code helps you time plantings for peak success, avoiding frost risks or stunted growth.
How far in advance should I check soil temps for my zip code?
Start monitoring soil temps 2–4 weeks before your last expected frost date. For warm-season crops (tomatoes, peppers), wait until the ground consistently hits at least 60°F at a 2-inch depth. Cool-season crops (lettuce, spinach) can handle cooler soils (40–50°F). Use a soil thermometer or local ag extension data for precision.
What if my zip code isn’t listed on the soil temperature map?
No worries! Most maps cover 90%+ of U.S. zip codes, but rural or high-altitude areas may lack data. Try these alternatives:
- Nearby zip codes: Compare temps with adjacent areas (e.g., a nearby town or city).
- Local weather stations: Check NOAA’s Climate Data Online for historical soil temps.
- Manual testing: Bury a thermometer in your garden for a week to establish your microclimate’s patterns.
How do I adjust planting if a late frost hits after checking my soil temp?
If frost is forecasted, act fast:
- Cover seedlings with frost blankets or row covers to protect tender plants.
- Delay planting until temps stabilize (check your zip code’s 10-day forecast for soil temps).
- Choose cold-hardy varieties: Swap heat-loving tomatoes for early girl or stupice tomatoes, which tolerate cooler soils.
Pro tip: Use a soil warming mat in early spring to jumpstart germination if frost looms.
Can I use a soil temperature map for container gardening?
Container soil warms up faster than in-ground soil, so adjust your zip code’s temps by 5–10°F higher. For example, if your map shows 55°F, aim for 60–65°F in pots. Monitor container soil temps daily—especially in sunny spots—since they can spike quickly. Use dark-colored pots to absorb heat or place containers on black plastic mulch to retain warmth.
Wrapping up and next steps
Understanding your soil temperature map by zip code is the secret weapon for unlocking perfect planting timing—no more guesswork, just thriving gardens! 🌱 Whether you're a seasoned gardener or just starting, knowing when the soil warms up (or cools down) ensures your plants grow strong and healthy.
Now that you’ve decoded your local conditions, take action: grab those seeds, mark your calendar, and get ready to transform your outdoor space into a flourishing oasis!
Next step? Check out our planting calendar by zone to pair your soil temps with the ideal planting dates for your favorite crops. Happy gardening! 🌿