
Planting
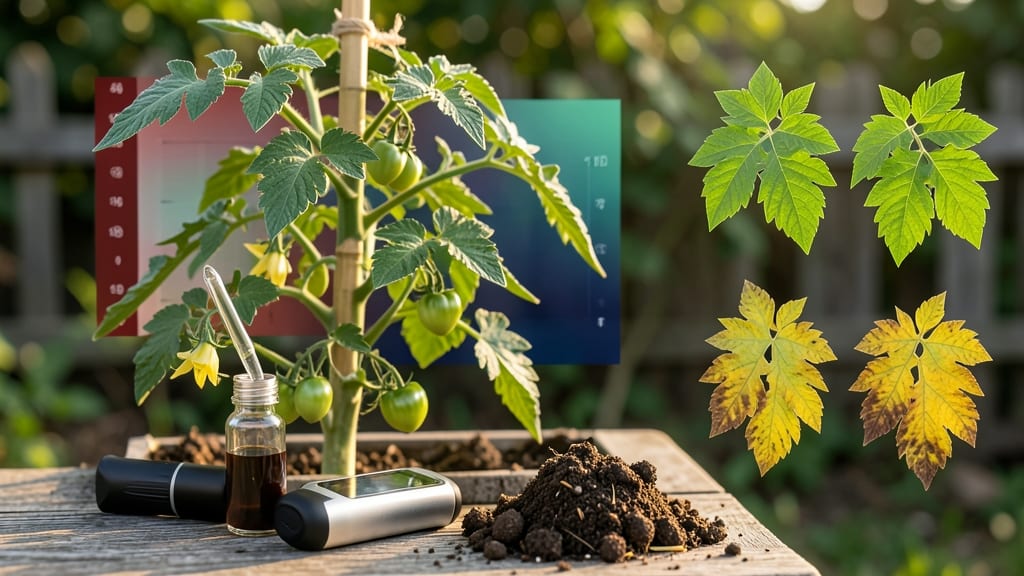
Tomato plants thrive when soil pH sits between 6.0 and 6.8—that narrow range is where they soak up nutrients like a sponge. 🌱 I learned this the hard way after my first harvest tasted bland and my plants looked half-starved, despite plenty of fertilizer.
The secret isn't just adding more food—it's making sure the soil's chemistry lets them actually use it. Testing your soil takes 10 minutes with a simple kit (or a DIY vinegar/baking soda test), and adjusting pH is easier than you'd think. Too acidic?
A handful of pulverized limestone over the bed does the trick. Too alkaline? Elemental sulfur lowers it gradually. Both work organically and last through the growing season. You'll notice the difference within weeks: darker green leaves, stronger stems, and fruit that bursts with flavor instead of watery mush.
The plants also resist disease better because their roots access all the nutrients they need—not just the ones that happen to be available at the wrong pH. This method works for containers too—just mix amendments into potting soil before planting. Here's how to dial it in without overcomplicating things.
📚 In This Guide
- What you need
- Instructions
- Tips and common mistakes
- Wrapping up and next steps
What you need
- ● Soil pH testing kit – Digital or liquid test kit (e.g., LaMotte or MySoil) for precise readings.
- ● Garden soil – Well-draining, nutrient-rich mix (e.g., Miracle-Gro Garden Soil or FoxFarm Ocean Forest).
- ● pH adjusters: Lime (pelletized or hydrated) – To raise pH (e.g., Garden Lime, 5 lbs per 100 sq ft).
- ● Sulfur (elemental or gypsum) – To lower pH (e.g., Aluminum Sulfate, 1 lb per 100 sq ft).
- ● Compost or organic matter – Improves soil structure (e.g., worm castings or aged manure).
- ● Tomato seedlings or seeds – Disease-resistant varieties like Celebrity or Sungold.
- ● Garden trowel or spade – For digging and mixing amendments.
- ● Gloves – To protect hands from soil and chemicals.
- ● Watering can or hose – For hydration and pH adjustment activation.
- ○ pH buffer solution (optional) – Helps calibrate test kits (e.g., pH 4.0 & 7.0 buffer tablets).
- ● Mulch (straw or wood chips) – Retains moisture and stabilizes pH.
- ● Test soil before planting! – Aim for a pH of 6.0–6.8 for tomatoes.
- ● Re-test after adjustments – Give amendments 1–2 weeks to take effect.
- ● Monitor regularly – Soil pH can shift with rain or organic matter breakdown.
How to test and adjust tomato soil pH for peak yields
Here’s how I dial in the perfect soil pH for tomatoes—no guesswork, just science-backed adjustments.
🌱 Step 1: Test Your Current Soil pH
Tomatoes thrive in soil with a pH between 6.0 and 6.8, but most garden soil runs higher or lower. Grab a digital pH meter or test kit (I swear by the LaMotte Soil pH Kit for accuracy). Moisten a small soil sample with distilled water, then insert the probe or follow the kit’s instructions. If your reading is outside the 6.0–6.8 range, you’ll need to adjust before planting.
Don’t rely on visual cues—soil can look dark and fertile but still be too alkaline or acidic. I test my soil every spring and fall, especially if I’ve amended it before. If you’re planting in containers, test the potting mix too—it often skews higher than garden soil. Write down your results; you’ll reference them later when making adjustments.
💧 Step 2: Lower pH for Alkaline Soil
If your soil pH is above 6.8, sprinkle elemental sulfur evenly over the bed. The amount depends on your soil’s current pH and texture: 2–4 pounds per 100 square feet for clay soil, 1–2 pounds for loamy soil, and ½–1 pound for sandy soil. Work it into the top 6 inches of soil and water deeply to activate it.
Sulfur lowers pH slowly—wait 2–3 months before planting tomatoes. I like to add it in early spring so it has time to break down. Avoid overdoing it; pushing pH below 5.5 locks out essential nutrients like phosphorus and calcium. Test again after 8 weeks to confirm you’ve hit the 6.0–6.8 sweet spot.
☀️ Step 3: Raise pH for Acidic Soil
For soil pH below 6.0, mix in pelletized lime (calcium carbonate) at a rate of 5–10 pounds per 100 square feet, depending on how far your pH is from the target. Spread it evenly and till it into the top 6 inches. Unlike sulfur, lime works faster—test again after 4–6 weeks to check progress.
I prefer pelletized lime because it’s easier to spread and dissolves evenly. Avoid quick-lime or hydrated lime; they’re too aggressive and can burn roots. If your soil is very sandy, you might need to reapply lime annually since it washes out faster. Always water after amending to help the lime integrate.
✂️ Step 4: Maintain pH Through the Growing Season
Tomatoes are heavy feeders, and their growth can shift soil pH over time. Every 4–6 weeks, do a quick check with your pH meter. If you notice yellowing leaves (especially on younger growth), your pH might be drifting upward—add a light sulfur top-dressing. For purple stems or stunted growth, pH could be dropping; a small lime application may help.
I also mix composted manure or worm castings into the soil at planting time. Organic matter naturally buffers pH swings, keeping it stable for tomatoes. Avoid fresh manure—it can spike pH temporarily and burn tender roots. Mulch with straw or wood chips to slow moisture loss, which helps maintain pH balance.
🪴 Step 5: Adjust Container Soil for Tomatoes
Potted tomatoes need the same pH care but with a faster approach. If your container mix tests above 6.8, mix in ½ cup of elemental sulfur per 5-gallon pot and water it in. For pH below 6.0, add ½ cup of pelletized lime per 5-gallon pot. Repot every 1–2 years—old potting mix loses its pH-balancing properties.
I swear by 50% potting mix and 50% compost for containers. The compost keeps pH stable and provides slow-release nutrients. Test the mix before planting, and recheck mid-season if your tomatoes start showing stress. Container soil dries out faster, so pH can fluctuate more—stay vigilant with watering and occasional pH checks.
Tips & tricks for perfect tomato soil pH balance
Getting your tomato soil pH right isn't just about following numbers—it's about understanding how those adjustments actually work in your garden.
Testing Accuracy: For the most reliable results in Step 1, always use distilled water to moisten your soil sample. Tap water can contain minerals that skew pH readings, especially if your water is naturally hard or soft. I've seen gardeners get false readings that led to unnecessary amendments—don't make that mistake. Also, test multiple spots in your garden since pH can vary dramatically even within a small area. Take notes on where each sample came from to track patterns.
Sulfur Application Strategy: When lowering pH in Step 2, focus on even distribution rather than just hitting the quantity targets. I like to use a broadcast spreader for elemental sulfur to ensure complete coverage, especially in clay soil where compaction can create pockets of untreated soil. The key is working it into the top 6 inches—don't just sprinkle it on top! For container tomatoes, mix the sulfur directly into the potting mix rather than adding it as a top dressing, which helps activate it faster. Remember, sulfur needs moisture to work, so water thoroughly after application.
Lime Integration: In Step 3, the way you incorporate lime makes all the difference. Rather than just scattering it on the surface, I recommend tilling it into the top 6 inches of soil to ensure even distribution. For sandy soils, you might want to split your lime application into two smaller doses—apply half now and save the rest for 3-4 weeks later. This gradual approach prevents sudden pH spikes that can stress tomato roots. When mixing lime into container soil, I like to pre-moisten the potting mix slightly before adding it to help the lime dissolve more evenly.
Seasonal Monitoring: The maintenance checks in Step 4 are where most gardeners fall short. I've learned that setting calendar reminders for every 4-6 weeks helps me stay consistent. Pay special attention to new growth—young leaves are more sensitive to pH fluctuations. For container tomatoes, I keep a small notebook by my potting bench to record each pH test result along with any amendments made. This creates a valuable record that helps me fine-tune my approach year after year. The mid-season check mentioned is especially critical for container plants where pH can shift rapidly with watering.
Pro Tips for Tomato Plant Soil Ph
- Getting your tomato soil pH right isn't just about following numbers—it's about understanding how those adjustments a...
- Testing Accuracy: For the most reliable results in Step 1, always use distilled water to moisten your soil sample. Ta...
- Sulfur Application Strategy: When lowering pH in Step 2, focus on even distribution rather than just hitting the quan...
Frequently asked questions
Got questions about optimizing your tomato plant’s soil pH?
Here are some of the most common concerns—plus quick, actionable answers to keep your plants thriving and your harvests bountiful.
What is the ideal pH range for tomato plants?
The sweet spot for tomato soil pH is 6.0 to 6.8. This slightly acidic to neutral range ensures your plants can absorb essential nutrients like nitrogen, phosphorus, and potassium efficiently. Outside this range, nutrient uptake drops, leading to stunted growth or poor fruit quality. Test your soil annually for accuracy!
How do I know if my tomato soil pH is too high or too low?
Watch for these clues:
- Too high (alkaline, pH > 7.0): Yellowing leaves (especially older ones), stunted growth, or blossom-end rot.
- Too low (acidic, pH < 5.5): Dark green or purple-tinged leaves, slow growth, or poor flowering.
Can I fix my soil pH quickly if it’s off?
Yes! For alkaline soil (high pH), mix in sulfur or peat moss (apply 1–2 lbs per 100 sq ft and water well). For acidic soil (low pH), add lime (1–2 lbs per 100 sq ft) or wood ash. Re-test after 2–4 weeks—pH changes take time! Pro tip: Avoid drastic shifts; aim for gradual adjustments to prevent root stress.
Will compost or manure affect my tomato plant’s soil pH?
Most well-aged compost or manure is neutral (pH 6.0–7.0), making it a safe amendment. However, fresh manure (especially from herbivores like cows) can temporarily raise pH due to ammonia. To play it safe, compost manure for 6+ months before using or mix it with sulfur if your soil leans alkaline.
Do container-grown tomatoes need different pH care?
Container tomatoes thrive in the same 6.0–6.8 pH range, but their soil dries out faster, accelerating pH shifts. Use a balanced pH-adjusted potting mix (or blend garden soil with perlite) and monitor moisture—overwatering can leach nutrients and alter pH. Repot every 1–2 years to refresh the growing medium.
Wrapping up and next steps
Getting your tomato plant soil pH just right is the secret sauce to a bountiful harvest! 🌱 With the ideal range of 6.0 to 6.8, you’re setting the stage for healthier plants, stronger roots, and juicier tomatoes.
Don’t let pH stress hold you back—test your soil, make adjustments, and watch your garden thrive!
Ready to take the next step? Start testing your soil today and fine-tune your growing conditions. Your future tomato feast is just a pH balance away! 🍅✨