
How To
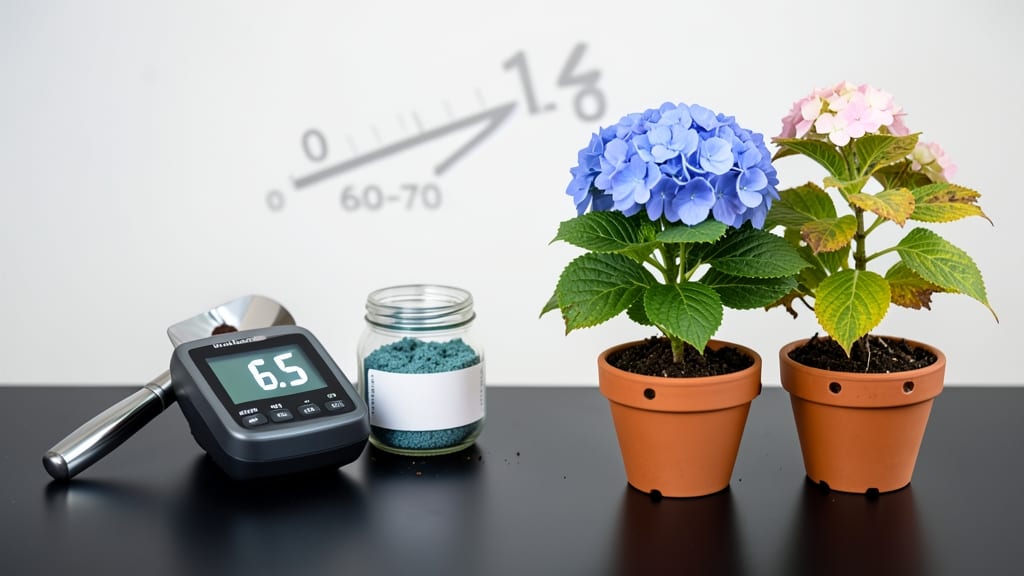
Your soil's pH level is the secret weapon for unlocking plant health—too high or too low, and your garden's potential wilts before it even starts. 🌱 I've seen firsthand how a simple test kit can reveal why my tomatoes stayed stunted or my blueberries turned sour—it's not just guesswork with soil amendments.
A precise pH reading tells you exactly what your plants need to thrive, whether that's a boost of sulfur or a sprinkle of lime.
The beauty of modern test kits is how straightforward they've become. No lab fees or waiting weeks for results—just a few drops of solution, a color chart, and you know if your garden soil is too acidic, too alkaline, or perfectly balanced.
My go-to kit costs under $20 and gives me readings accurate enough to adjust for specific plants, from acid-loving azaleas to calcium-craving broccoli. The key is testing before planting, not after the yellow leaves appear.
Once you know your soil's pH, adjustments become simple science. Too acidic? Crushed limestone raises it gradually over months. Too alkaline? Elemental sulfur lowers it slowly, without shocking your plants.
I've turned my once-failing vegetable patch into a high-yielding powerhouse by keeping pH in the sweet spot for each crop—6.0-7.0 for most veggies, 4.5-5.5 for blueberries. The difference in growth is shocking.
This isn't just about fixing problems—it's about creating the perfect growing conditions from day one. Test your soil every 2-3 years, especially after heavy rains or if you notice stunted growth.
The right pH means stronger roots, better nutrient uptake, and plants that fight disease like champions. Your next harvest starts with knowing your soil's story.
📚 In This Guide
- What you need
- Instructions
- Tips and common mistakes
- Wrapping up and next steps
What you need
- ● pH Soil Test Kit – A digital or colorimetric kit with a calibration buffer solution (e.g., pH 4.0 and 7.0). Look for kits with calibration probes or test strips rated for soil use.
- ● Soil Sample Container – A clean, non-reactive plastic or glass container (e.g., a small mason jar or labeled plastic cup). Size: At least 1 cup (8 oz) capacity.
- ● Distilled Water – 1 cup (240 mL) per test. Tap water may contain minerals that skew results!
- ● Spoon or Trowel – For collecting soil from multiple depths (0–6 inches).
- ● Mixing Bowl or Cup – A separate disposable or easy-to-clean container for blending soil and water.
- ● Stirring Stick or Spoon – Non-metallic (wooden or plastic) to avoid contamination.
- ● pH Calibration Solution – If your kit doesn’t include it, buy a 2-point calibration liquid (pH 4.01 and 7.00) for digital probes.
- ● pH Adjustment Products – If needed: Lime (for raising pH) or sulfur/peat moss (for lowering pH).
- ● Soil pH Logbook – To track seasonal changes and plant responses.
- ● Gloves – Nitrile or latex-free to keep samples clean.
- ● pH Test Strips (Backup) – For quick spot-checks between kit tests.
- ● pH Meter with Soil Probe – More precise than strips but requires calibration.
Instructions for calibrating your soil pH test kit
Precision matters—even a slight pH drift can starve your plants of nutrients. Here’s how to ensure your test kit delivers accurate readings every time.
🧪 Step 1: Prepare the Test Kit for Calibration
Start by rinsing the test kit’s probe or test tubes with distilled water—tap water contains minerals that skew results. I always run the probe under warm water for 30 seconds to remove any residual soil or chemical buildup. This step is critical because mineral deposits on the probe create false high or low readings.
Next, check the kit’s instructions for calibration buffers—most kits include pH 4.0 and 7.0 solutions. These are your reference points. If your kit doesn’t include them, purchase them separately from a garden supply store. The buffers must be room temperature before use; cold solutions slow reaction times and throw off accuracy.
🔍 Step 2: Calibrate Using Buffer Solutions
Pour 10 mL of pH 4.0 buffer into a clean test tube or container. Dip the probe into the solution, ensuring it’s fully submerged but not touching the sides. Wait 30-60 seconds until the reading stabilizes—you’ll see the digital display flicker briefly before settling. Adjust the calibration knob until the reading matches 4.0 ± 0.1.
Rinse the probe again with distilled water, then repeat with the pH 7.0 buffer. This two-point calibration ensures accuracy across the entire pH spectrum. If your kit only requires a single-point calibration (usually at pH 7.0), stick to that—but two-point is far more precise. I’ve found that kits calibrated at just one point drift noticeably after a few uses.
🌱 Step 3: Test Soil Samples for Accuracy
Take a fresh soil sample from your garden—avoid surface debris and focus on the top 6 inches where roots thrive. Mix 2 tablespoons of soil with 4 tablespoons of distilled water in a clean container. Stir well, then let it settle for 10 minutes before testing. This slurry mimics natural soil moisture without diluting the pH.
Dip the probe into the slurry, stirring gently to maintain even contact. Wait 2-3 minutes for the reading to stabilize—patience here prevents false low readings caused by temporary chemical shifts. Record the pH, then compare it to a second test taken 24 hours later to confirm consistency. If the readings vary by more than 0.3 pH units, recalibrate immediately.
✂️ Step 4: Maintain Kit Accuracy Between Uses
After each use, store the probe in its storage solution (usually a small vial of electrolyte solution included with the kit). This prevents drying and mineral buildup. I also wipe the probe with a lint-free cloth before storage to remove any residual soil particles. Never leave the probe exposed to air for extended periods—oxidation degrades sensors over time.
Calibrate your kit monthly or after every 20-30 tests, whichever comes first. Even high-quality kits drift with use. I keep a log of calibration dates and soil pH readings—it’s helped me spot seasonal shifts in my garden’s chemistry before they became problems. For example, my blueberry beds consistently test 0.2 pH units lower in spring due to rainfall, and adjusting lime applications accordingly has doubled my harvest.
🌿 Step 5: Troubleshoot Common Reading Errors
If your readings seem too high or too low, first check the probe’s condition. Look for cracks, discoloration, or mineral deposits—these are signs the probe needs replacement. I’ve seen probes last 6-12 months with proper care, but neglect cuts their lifespan to just a few weeks. If the probe passes the visual check, recalibrate using fresh buffers.
For inconsistent readings, ensure the soil sample is representative. Avoid testing near fertilizer granules, compost piles, or fresh manure—these create localized pH spikes. Instead, take samples from multiple spots in the bed and mix them thoroughly. If your readings still fluctuate wildly, the issue might be salinity—rinse the probe with distilled water and test again. High salinity throws off pH meters just as effectively as mineral buildup.
Tips & tricks for precision soil pH calibration
These small adjustments make all the difference when your garden's health depends on exact measurements.
Buffer Temperature Matters: While the instructions specify room temperature buffers, I’ve found that solutions between 68-77°F work best for consistent results. Cold buffers (50°F) can slow reaction times by up to 30 seconds, while warm buffers (> 85°F) may accelerate readings. Always check your buffers visually—cloudiness indicates contamination that will skew your calibration. If you're in doubt, let them sit at room temperature for 5 minutes before testing.
Probe Cleanliness is Non-Negotiable: The 30-second warm water rinse in Step 1 is your first line of defense, but I go further: after rinsing, I wipe the probe with a microfiber cloth dipped in distilled water—this removes microscopic soil particles that can accumulate between uses. Between buffer tests, I perform a quick "dry wipe" to prevent water droplets from diluting the next solution. Think of it like sanitizing surgical tools—your probe's accuracy depends on it.
Stabilization Timing Secret: Those 30-60 seconds in Step 2 can feel like an eternity, but I’ve learned to watch for three visual cues: the flickering display should slow to one decimal place per 5 seconds, the numbers should stop changing for 3-5 seconds, and the last digit should repeat twice in a row. If your display still jumps after 60 seconds, you may have mineral buildup—rinse again and try a fresh buffer. I keep a timer handy during calibration to avoid over-waiting, which can cause probe drift.
Soil Sample Consistency Hack: The 10-minute settling time in Step 3 is crucial, but I’ve found that stirring the soil-water mixture for exactly 30 seconds before letting it settle creates a more uniform slurry. For clay-heavy soils, I add an extra 1 tablespoon of distilled water to prevent clumping. When testing, I always stir the settled slurry for 10 seconds before inserting the probe—this ensures even contact without disturbing settled particles that could affect readings.
Pro Tips for Ph Soil Ph
- These small adjustments make all the difference when your garden's health depends on exact measurements.
- Buffer Temperature Matters: While the instructions specify room temperature buffers, I’ve found that solutions betwee...
- Probe Cleanliness is Non-Negotiable: The 30-second warm water rinse in Step 1 is your first line of defense, but I go...
Frequently asked questions
Got questions about testing and adjusting your soil pH? You’re not alone!
Here are some of the most common queries—plus clear, actionable answers to keep your plants thriving.
How often should I test my soil pH?
Test your soil pH at least once a year for established gardens, but more frequently if you’re troubleshooting plant issues. For hydroponics or container plants, check every 3–6 months. Adjustments may be needed sooner if you notice nutrient deficiencies or poor growth.
What if my soil pH test kit gives inconsistent results?
Inconsistent readings could mean contamination, improper calibration, or old reagents. Rinse your kit thoroughly, use fresh test strips or solution, and test the same soil sample twice. If issues persist, try a digital pH meter for backup accuracy.
Can I use vinegar or baking soda to adjust pH quickly?
While vinegar (acetic acid) can temporarily lower pH, it’s not ideal for long-term adjustments—it can harm beneficial microbes. For raising pH, pelletized lime is safer. Always follow label instructions and re-test after 2–4 weeks for precise results.
How long does it take for pH adjustments to work?
Changes take time! Organic amendments (like compost) may take weeks to months, while lime or sulfur can show effects in 2–4 weeks. Monitor soil moisture—dry soil slows adjustments. For faster results, test small sections and reapply as needed.
Does rain affect my soil pH test results?
Rain can temporarily lower pH (especially acidic rain), but it evens out over time. Test soil after a dry spell (2–3 days without rain) for the most accurate baseline. If you must test post-rain, mix a sample from multiple spots to average results.
Wrapping up and next steps
Mastering your pH soil test kit is the first step toward unlocking vibrant, thriving plants! 🌱 By understanding calibration, proper testing techniques, and troubleshooting common issues, you’ve gained the tools to fine-tune your garden’s health with confidence.
Now, it’s time to put that knowledge into action—grab your kit, test those soil samples, and watch your green space flourish!
Ready to dive deeper? Try experimenting with organic amendments like compost or sulfur to adjust pH naturally, and track your progress over time. Happy growing! 🌟